

Whether dialing in espresso or refining a pour-over recipe, I’ve long felt comfortable with technical coffee-making. Latte art, though? Not so much. Too often, I’d ruin my painstakingly extracted shot with overly steamed milk, pouring an unsatisfying blob of dairy into my cup. After many renditions, I convinced myself I lacked the artful touch for tulips and hearts. Still, I coveted cafe-quality textured milk, so I sought a reliable fix.
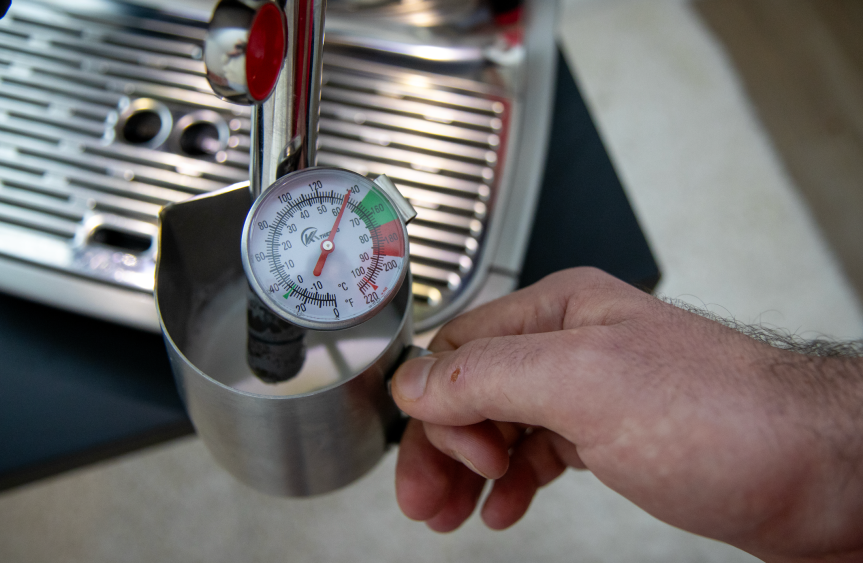
Turns out, simply an attachable instant-read thermometer is what made the difference. An analog or digital thermometer (mine’s the former) eliminates a whole lot of guesswork. While the milk swirls and hisses, I can check the temperature, pulling away the steam wand at the ideal time. No longer do I venture into stiff, overheated foam or flat, watery dairy; my milk coffee tastes just right.
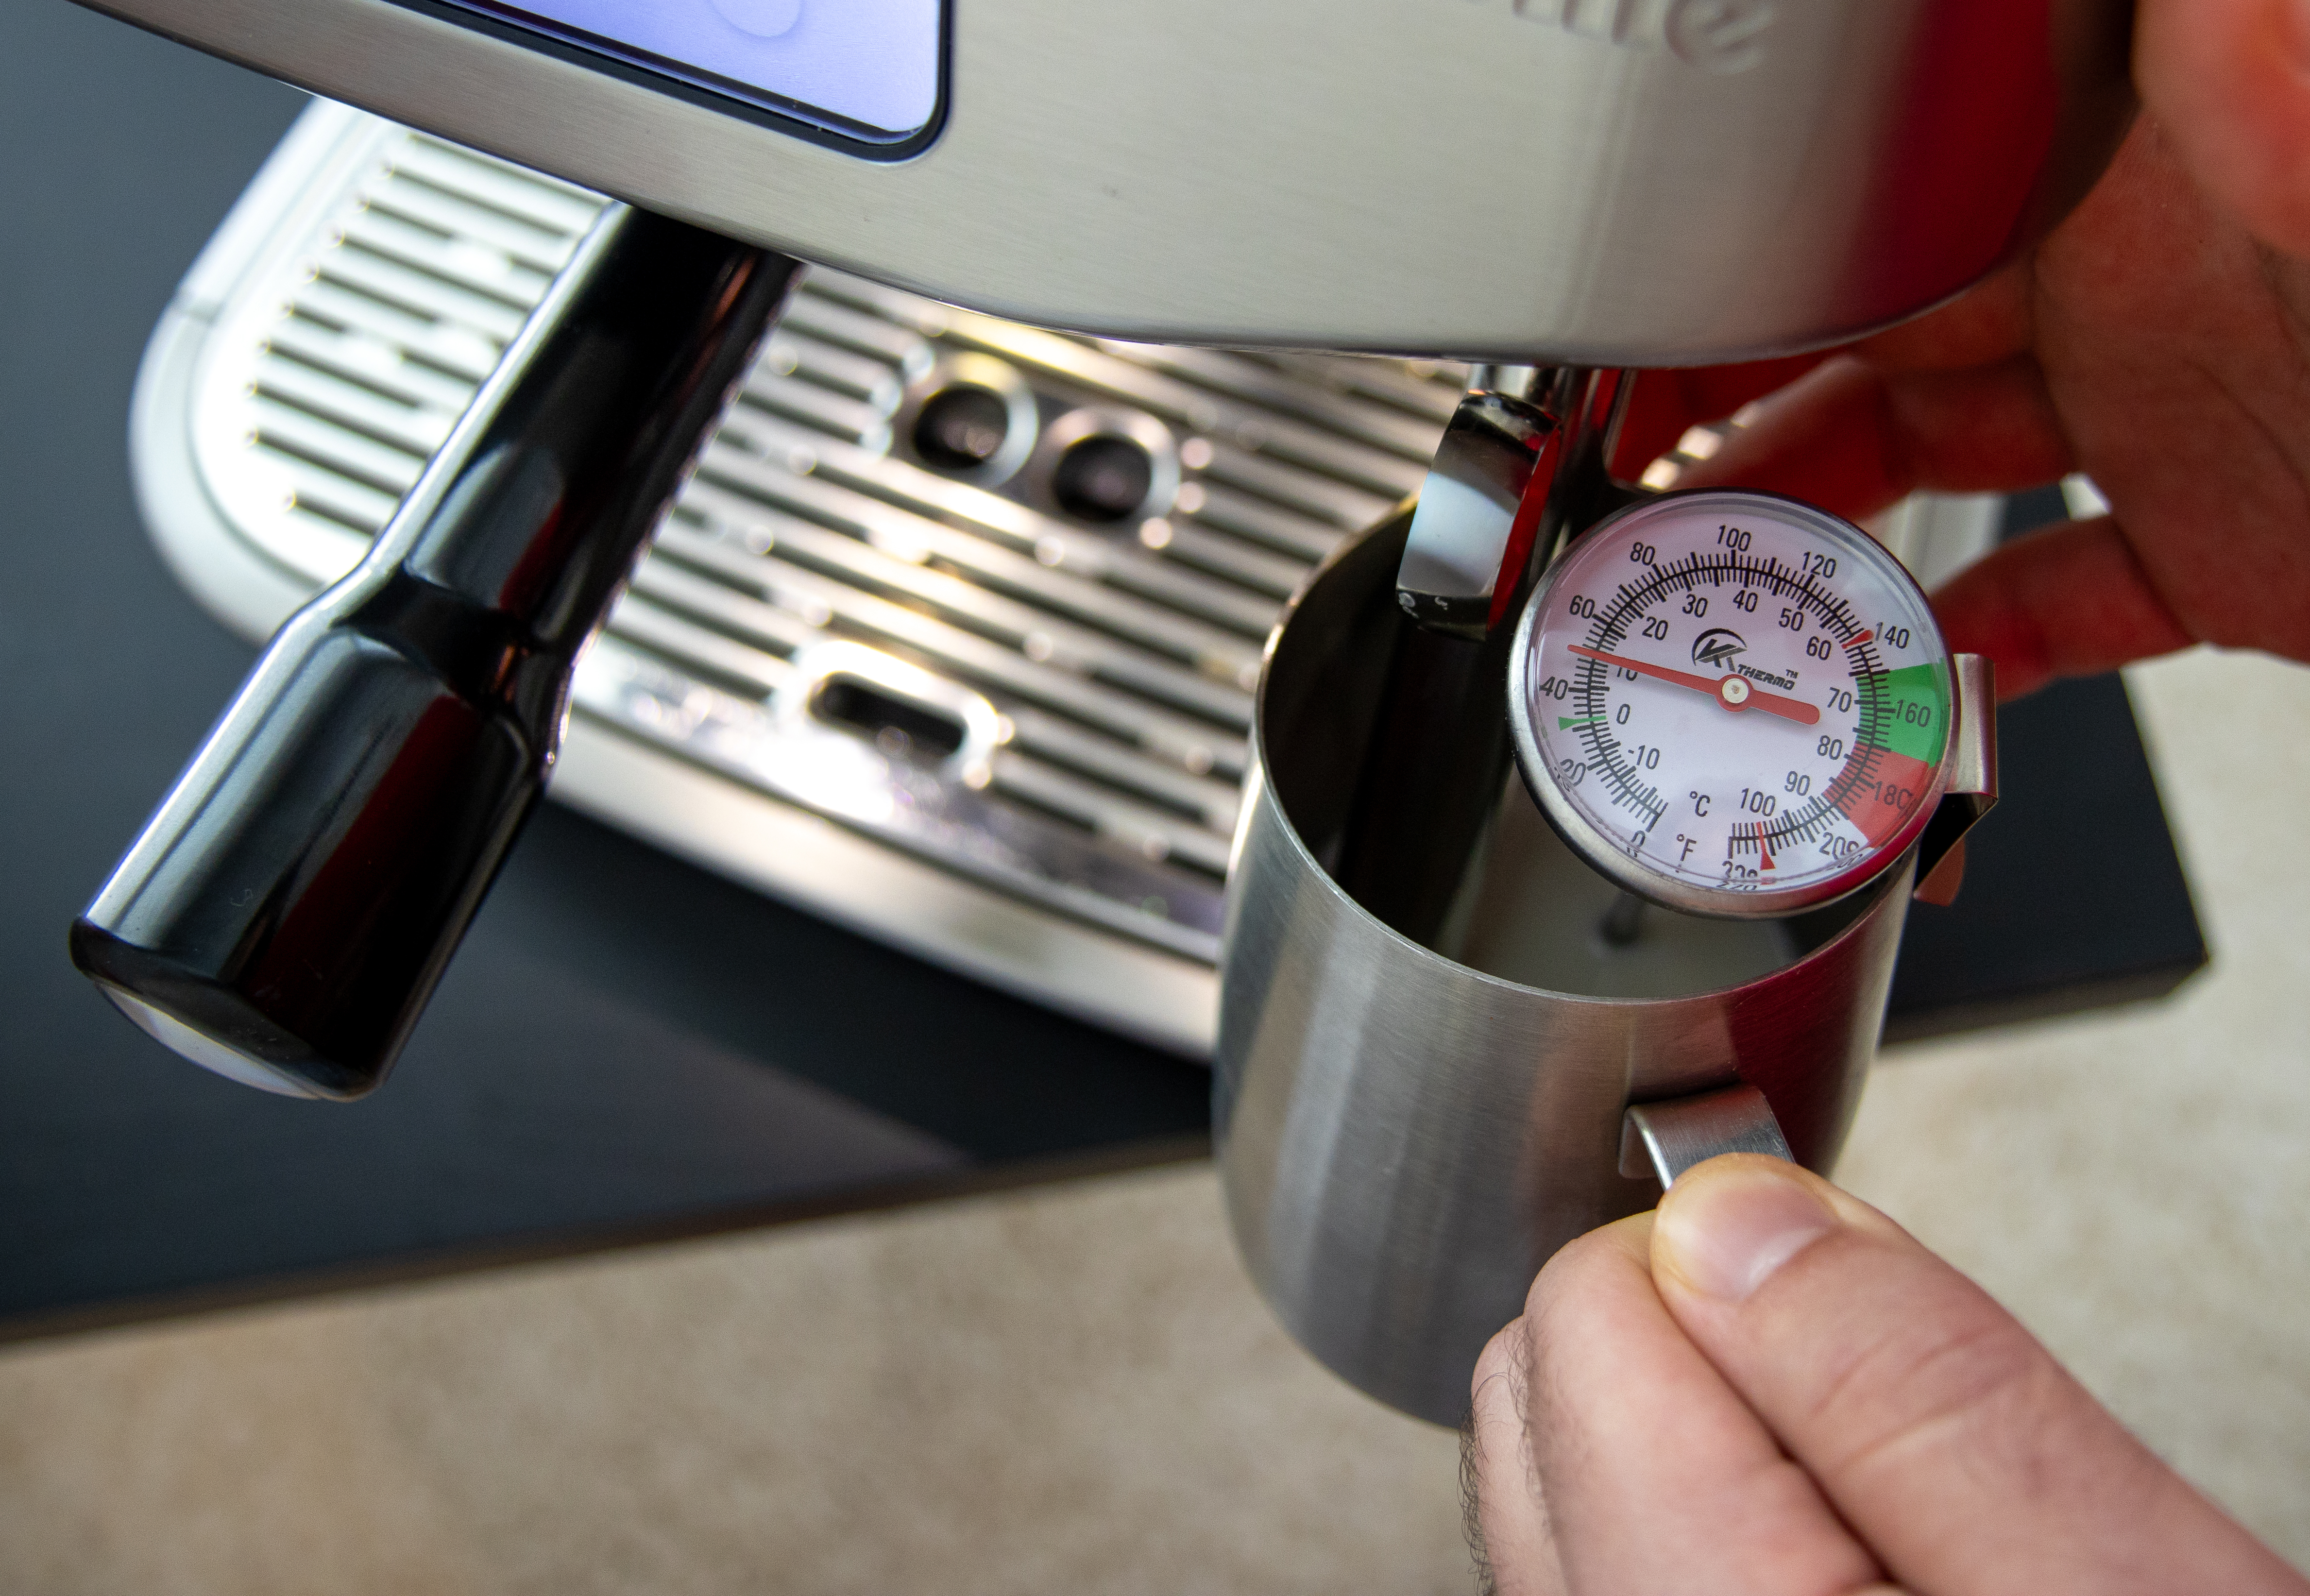
A thermometer guides the milk steaming process
Several tools can be used to aerate milk: simple handheld models, dedicated heated milk frothers and steam wands integrated into espresso machines. A thermometer could benefit all three setups; I use it with my espresso machine. The steam wand rapidly creates vapor, producing velvety, satisfying milk.
The Best Nondairy Milks for Frothing and Foaming
The downside? A powerful boiler system steams fast. My model heats the vapor nearly instantly, which is then integrated into the milk via four holes in the wand. In 30 seconds, the dairy goes from cold to aerated. A few moments longer, and the emulsion breaks into runny milk and stiff foam. Not pretty and not delicious, either.
 Nikita Ephanov/CNET
Baristas often suggest halting the steaming process when a milk pitcher turns too hot to the touch. Truth be told, I’ve found such subjective guidance misleading. To my fingers, the pitcher turns excessively warm early in the steaming process. I used to hold on too long to compensate, which led me to scald the milk. A thermometer provides a welcome technical metric instead of this sensory step.
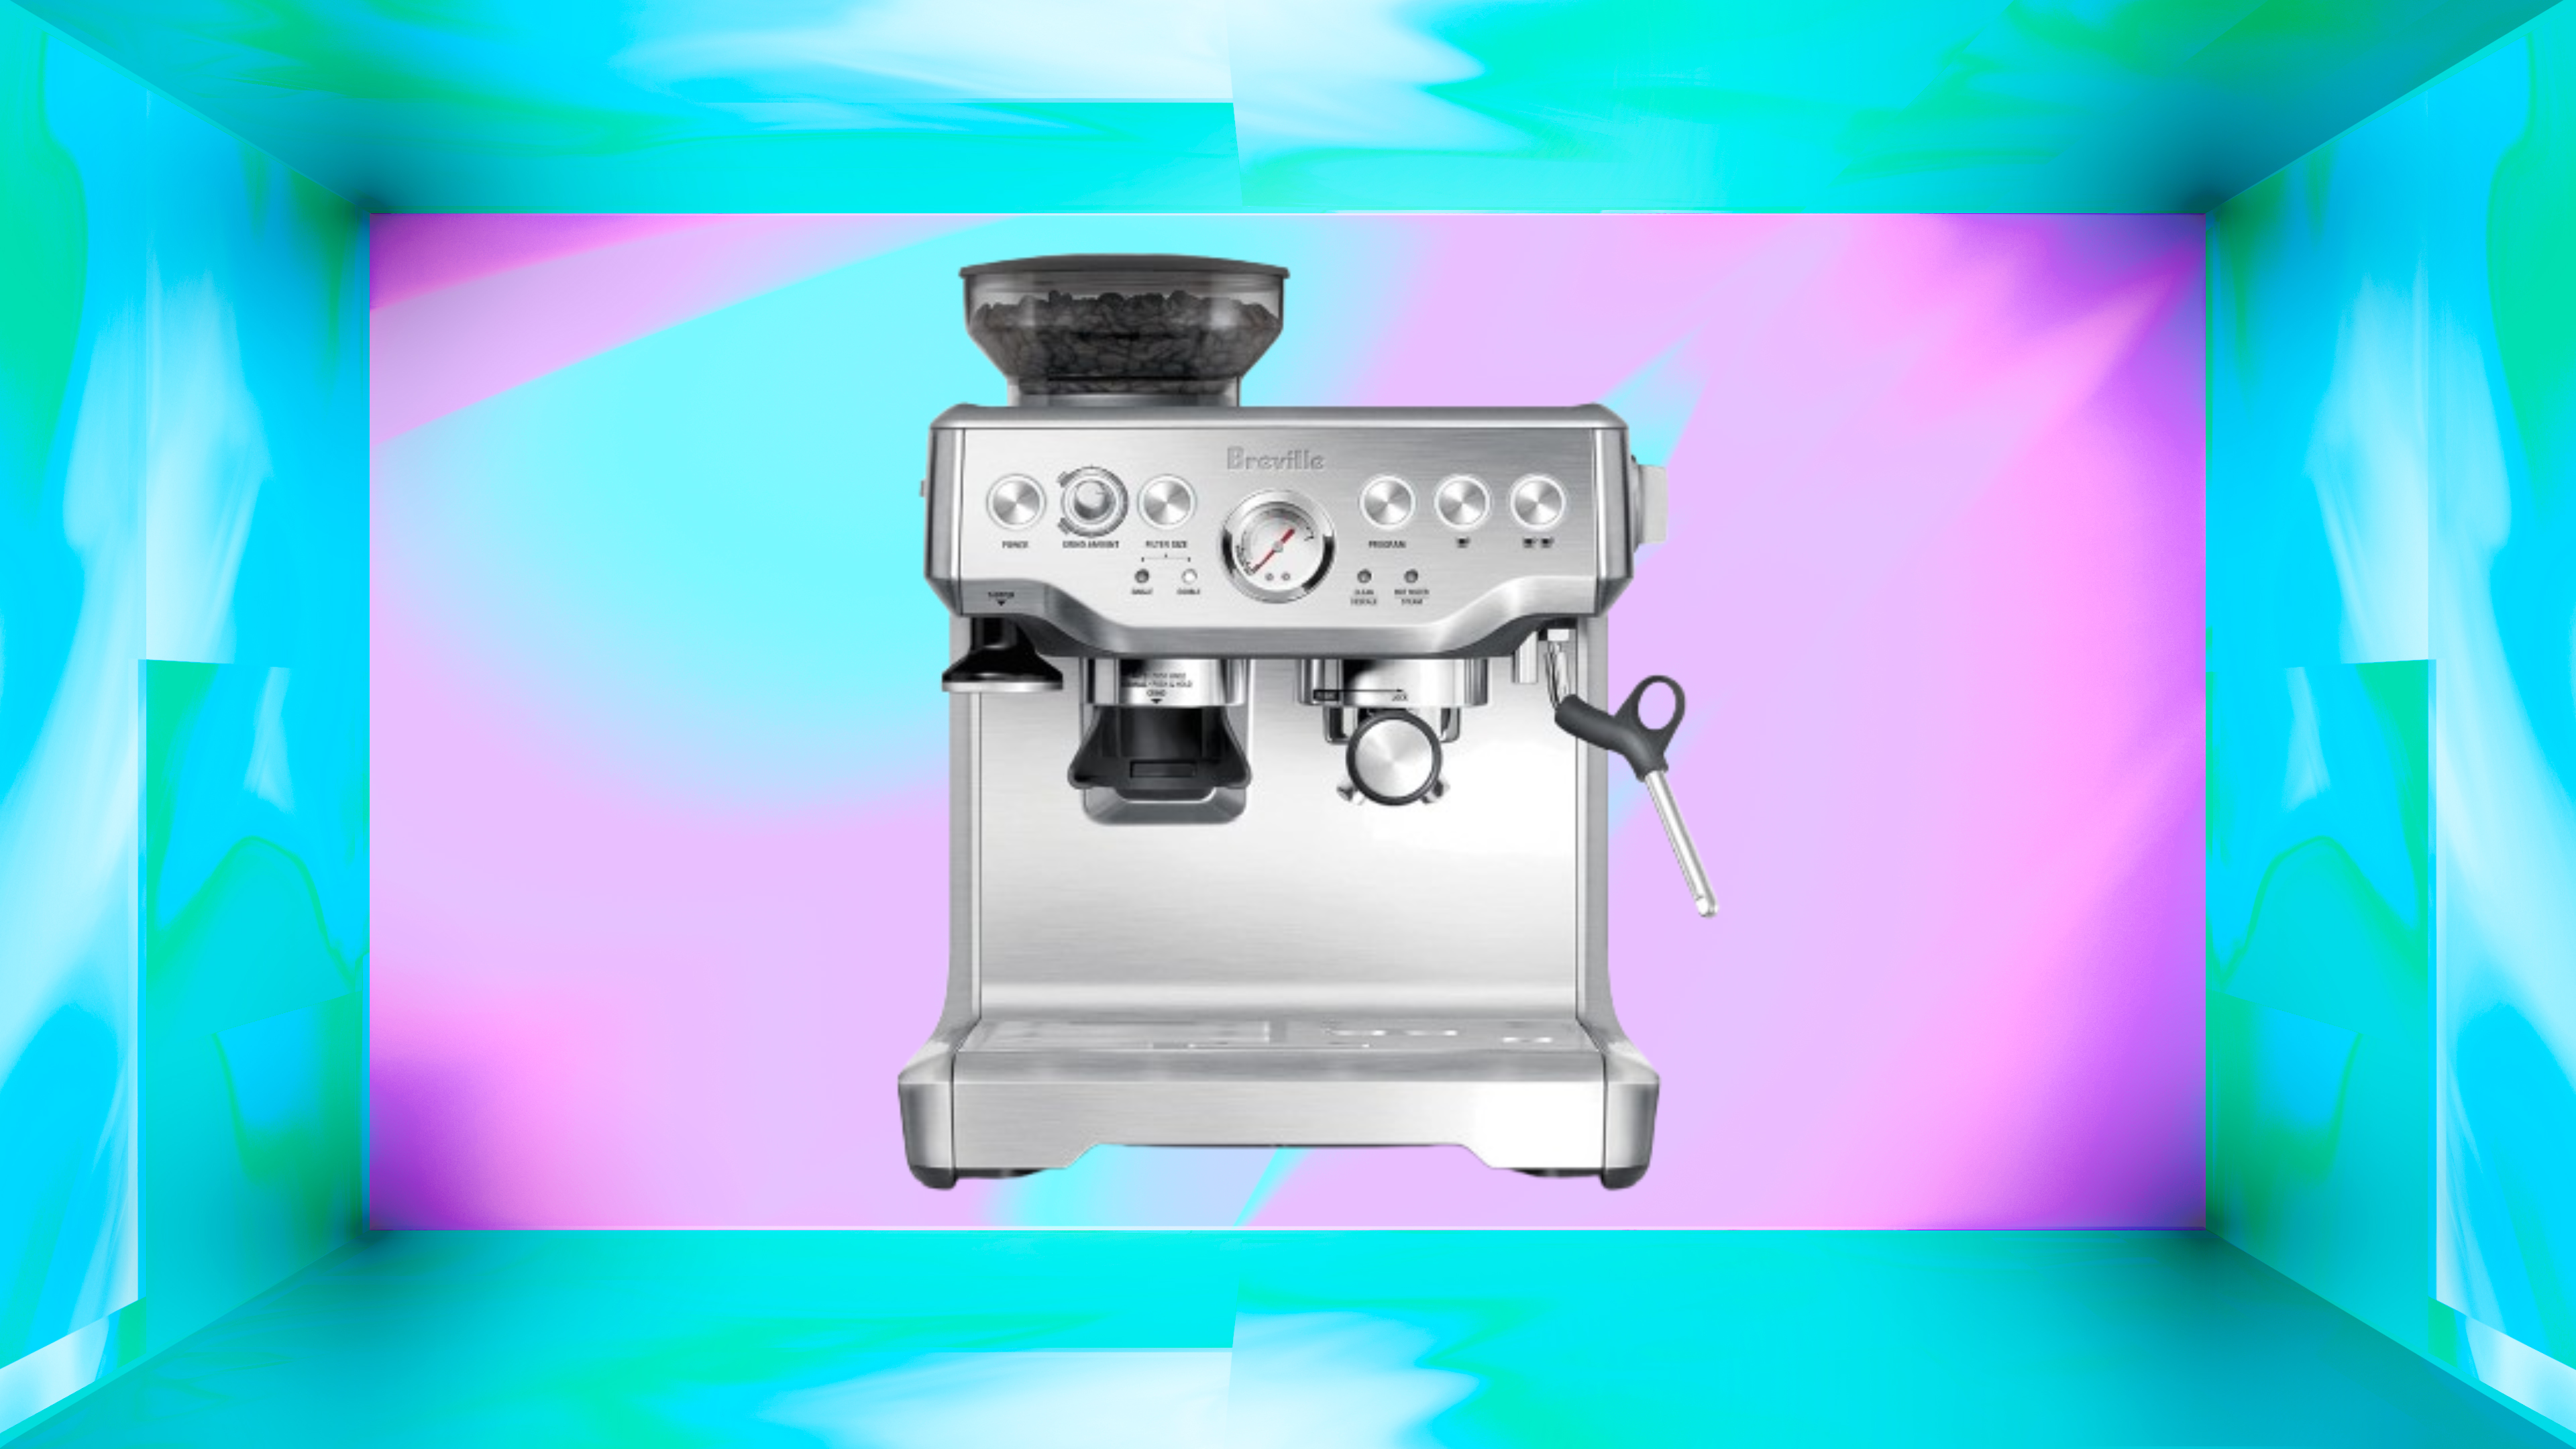
Best Espresso Machines We Tested
I simply clip the tool onto the side of my milk pitcher, then watch the degrees steadily climb. Now there’s a visual rhythm to the steaming process. I can focus on rolling the milk to create abundant microfoam. Then once the temperature is exactly 149 degrees Fahrenheit (65 degrees Celsius), I know I’ve adequately frothed the milk. The single tool serves as pragmatic guidance, directing the steaming process.
Don’t neglect proper frothing technique
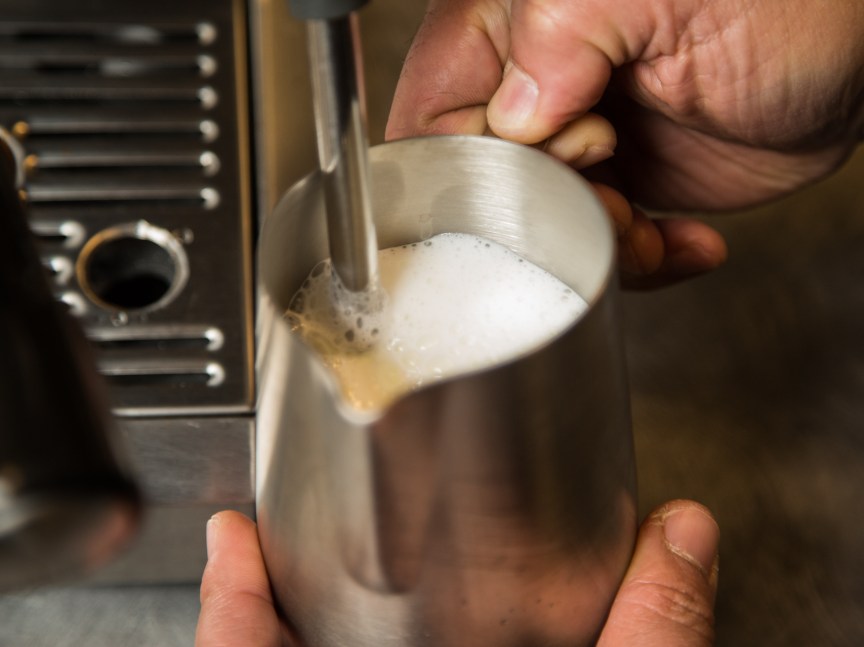
Whether or not you use a thermometer, good technique is required for dense foam.
Chris Monroe/CNET
Using a steam wand requires the proper approach — a thermometer won’t address every mishap. To attain a foam with small, suspended bubbles, it’s essential to submerge the frothing tip at the ideal depth. The goal is to create a vortex of spinning milk, a sign of uniform aeration. Place the wand too deep into the liquid, and not enough air is introduced, yielding a runny result. Too high up, and the bubbles get too large, occasionally even sputtering out of the pitcher.
I introduce the steam wand angled and just barely submerged to kickstart this rolling motion. Once the milk has adequately expanded — yielding a layer of foam atop — I’ll submerge the wand deeper into the dairy, ensuring aeration throughout the pitcher.
The process is easy to mess up. There’s trial and error regarding steam wand placement. Even when the resulting milk reaches 149 F (65 C), latte-art-quality foam isn’t guaranteed. The thermometer is there to supplement, though. I’ve learned to switch from surface aeration to the milk body at 104 F (40 C). Milk frothing requires focus on several processes in parallel — a thermometer helps keep track of everything at once.
 Nikita Ephanov/CNET
Art is subjective. Well-aerated milk is not
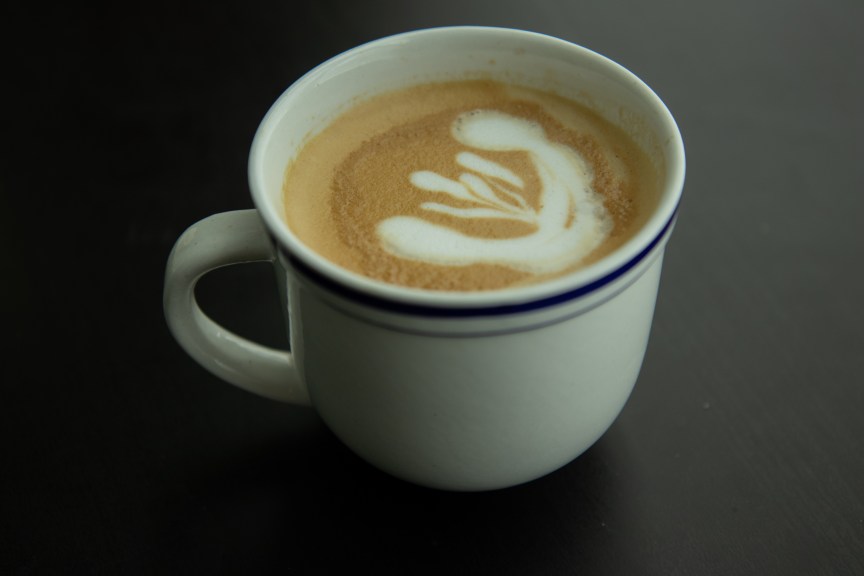
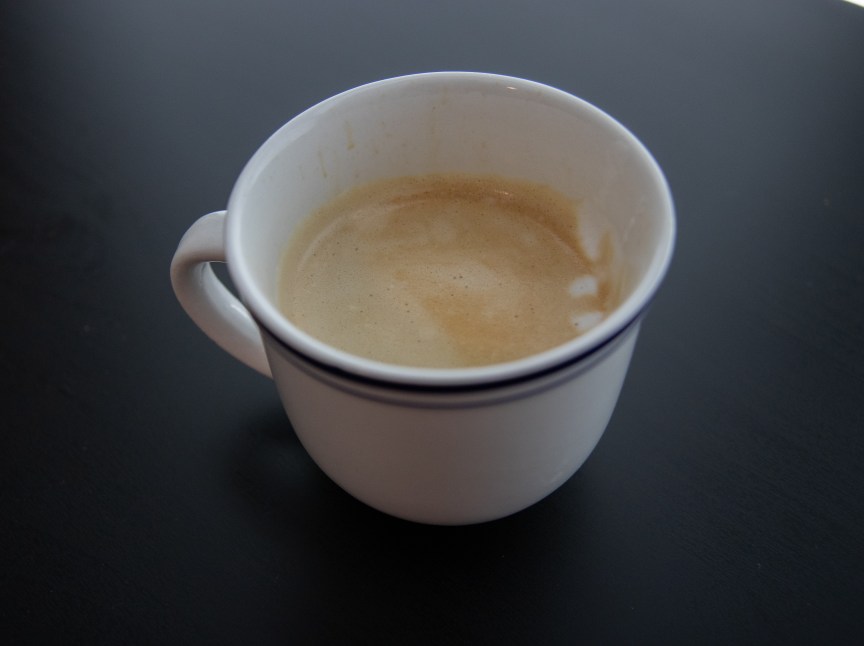
Even with a pitcher full of perfectly foamed milk, there’s still more to producing latte art. Tracking milk temperature didn’t miraculously take me from blobs to elegant, layered hearts. My latte aesthetics still err on the simple side, with continued trial and error regarding design. The height, speed and even angle of how milk is poured all affect what appears on top of the espresso.
Post-thermometer, though, I can pour shapes with confidence. The white foam is well-contained on the top layer of the coffee — no liquid consistency that spills across the cup. With properly textured dairy in hand, I can focus on making designs.
Good frothing isn’t only about visuals, either. Foaming milk to the proper temperature brings out dairy’s intrinsic sugars, which meld with the bold notes in espresso. Texturally, there’s a silky mouthfeel to sip on, even when the latte art looks bad. Properly frothed milk heightens the espresso, rather than diluting it.
Adjust the temperature per milk type
I prefer whole milk for my coffee — its fatty composition creates a thick, stable microfoam. Other forms of dairy offer their own advantages. If you’re after a dryer foam — say for a traditional cappuccino or an espresso macchiato — consider skim milk. The leaner consistency turns meringue-like when frothed, perfect for dolloping atop a cup. Skim milk scalds quickly. A thermometer proves even more handy with this one; I’d pull the pitcher away at 140 F (60 C) when steaming skim milk.
The same adjustment applies to the best milk alternatives, too. Although many plant-based milks struggle to produce microfoam, barista-grade oat milk can be used for latte art. Like skim milk, I’ve noticed this dairy replacement froths swiftly. Steam too long, and you get quite a dry foam (useful for cappuccinos). Not enough heat, and this less stable emulsion falls apart. When a thermometer is in the pitcher, there’s less estimating involved. With my machine, I pull away oat milk at an even lower temperature than skim milk — around 131 F (55 C).
Read more: Here’s Exactly How Much Espresso to Pack in a Shot
A thermometer makes experimenting with the many types of milk easier. Steaming tempo varies widely depending on both the liquid and the frother. There are unique nuances to each setup. With an attached thermometer, though, it’s easier to replicate good results. When there’s an ideal resultant consistency, it’s handy to write down the temperature, gaining more coffee-making confidence in the process.
Read the full article here
